I've finished adding some basic interaction to the Thinker v0.12 WebGL online demo. This includes adding, editing, and deleting elements.
Here's a list of the basic interactions.
- To reposition a node - Click and drag the node. All child nodes will also move with the node, radiating out from the center of the world.
- To adjust the curve of a link - Click and drag the link node. This curve will be maintained if you move either of the connected nodes.
- To add a new node - Click on some empty space,
and select the Add
 icon from the menu.
A new node will appear. Click again to place the node where you want it,
or optionally, click and drag to adjust the size of the new node.
The edit field will automatically appear, allowing you to enter the text of the new node.
-
To add a new child node to an existing node - Click on a node,
and select the Add
 icon from the menu.
A new node with a new child link will appear. Click on some empty space to place the node where you want it,
or optionally, click and drag to adjust the size of the new node.
The edit field will automatically appear, allowing you to enter the text of the new node.
-
To add a new link from one node to another - Click on a node,
and select the Add
 icon from the menu.
Move the cursor over the other node that you want to link to.
You should see the link change to a dashed associative link to the other node.
Click to create the link to this node.
-
To edit the text of a node, link, or world - Click on the item,
and select the Edit
 icon from the menu.
The edit field will appear, allowing you to enter the text of the new node.
Press enter, or "apply" to submit changes, or select something else to cancel.
-
To change the type of link - Click on the link node,
and select the Link
 icon from the menu.
This will toggle the type of the link between associative and hierarchical.
You can use this method to reparent existing nodes.
-
To delete a node or link - Click on the node or link node,
and select the Delete
 icon from the menu.
(Currently there is no undo in the demo!)
I hate written instructions... Hopefully these are all much more intuitive in practice. The eventual introductory video should be worth a few thousand words.
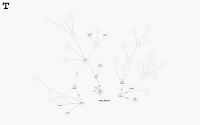
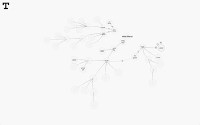
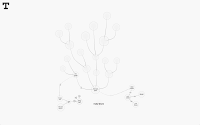
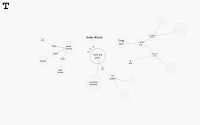
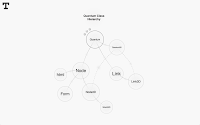
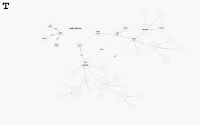
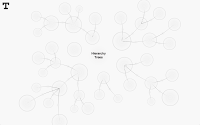
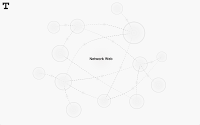
Anyways, some screenshots of the demo in action!


No comments:
Post a Comment